
Introduction
Docker is a very good tool for use as platform for running the databases with. Oracle corporation has released Docker build files for the Oracle Database on Github. With those build files one can go ahead and build his or her own Docker image for the Oracle Database. If you don’t know what Docker is you should go and check it out. It’s a cool technology based on the Linux containers technology that allows you to containerize your application, whatever that application may be. Naturally, it didn’t take long for people to start looking at containerizing databases as well which makes a lot of sense, especially for, but not only, development and test environments.
The tools we need
- Git for Windows from there: https://git-scm.com/downloads
- Windows PowerShell (instaled in Windows 10/11 as a default).
- Docker desktop for Windows: https://www.docker.com/products/docker-desktop
- At least 50GB of free space and at least 16GB of RAM memory.
Cloning the required files and binaries
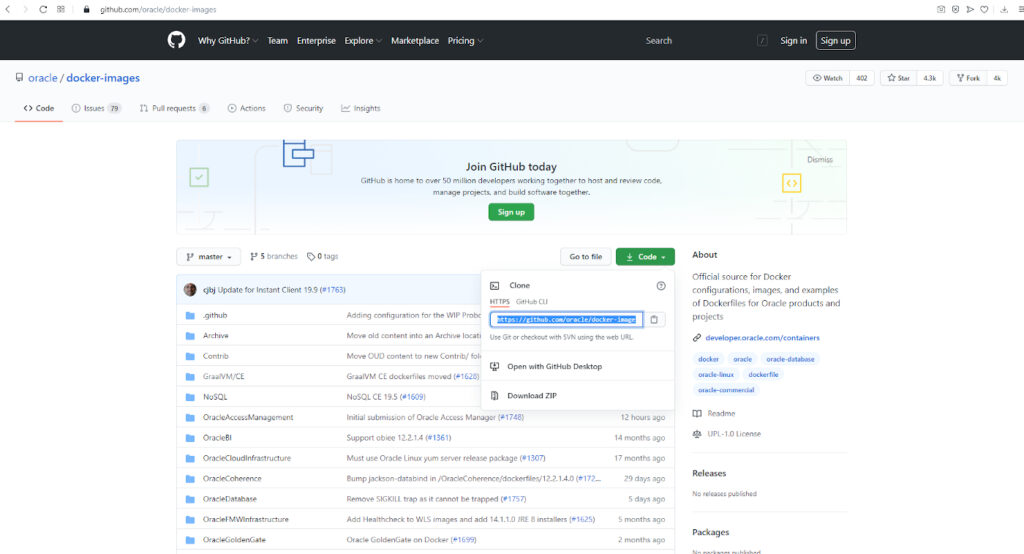
If we want to be able to build the Docker images of Oracle Database, we first need to clone the Docker build files from Github. So we should type:
git clone https://github.com/oracle/docker-images.git
Downloading binary files
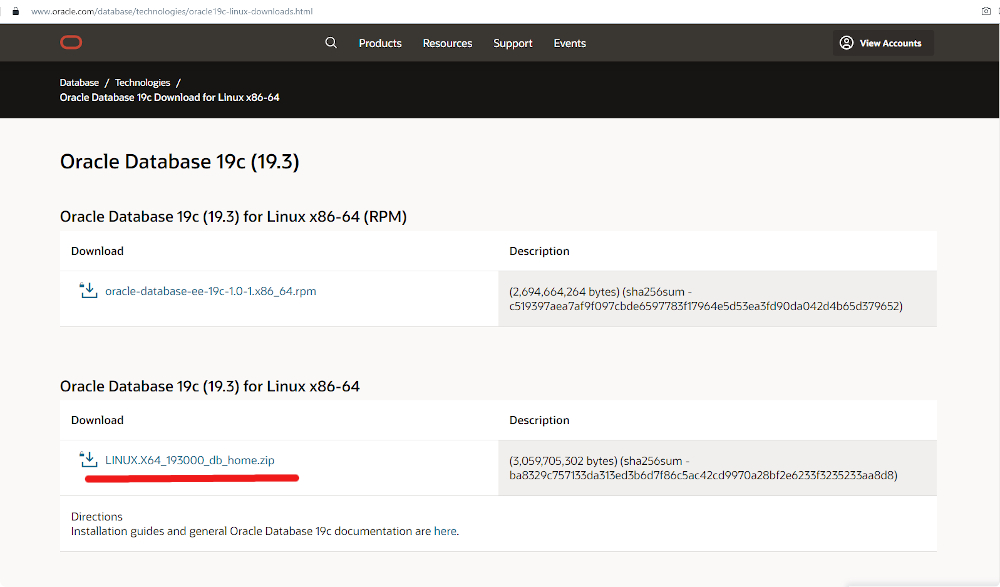
The next step is necessary if you want to build Oracle Database in version different than 18.4 (Express). So you need to log into your Oracle account and download from this site the zip file, but for Linux! Because Docker uses Linux for running containers. If you want to use Oracle 19.3.0 then download file named LINUX.X64_193000_db_home.zip. Download it into catalog with your oracle repository from Github and into path:
"your_path"\docker-images\OracleDatabase\Singleinstance\dockerfiles\19.3.0
Building the image
Now you have to run your Git Bash and go into your catalog with the main script for building the image. The script is here:
"your_path"\docker-images\OracleDatabase\Singleinstance\dockerfiles\
The script is named buildDockerImage.sh. You can check the options with running the command:
./buildDockerImage.sh -h
And you can run the script for creating the Docker image of Oracle Database 19.3.0 (-e is for Enterprise Edition, -s is fr Standard Edition). Sometimes hasfile checking under Windows does not works correctly an the you can add -i flag:
./buildDockerImage.sh -v 19.3.0 -e -i
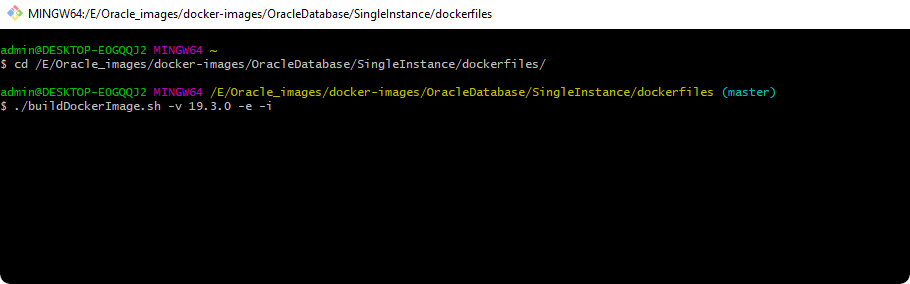
Now you can wait. It is not so fast to build the image of Oracle Database because it is huge application.
Running the container
Run PowerShell and if you build Enterprise Edition type:
docker run --name oracle_19_3 -p 1521:1521 -p 5500:5500 -v oradata:/opt/oracle/oradata oracle/database:19.3.0-ee
Or if you build Standard Edition type:
docker run --name oracle_19_3 -p 1521:1521 -p 5500:5500 -v oradata:/opt/oracle/oradata oracle/database:19.3.0-se
And you have to wait again because now the container is created by Docker. Inside this container the image of Oracle Database will be running. When the creating of container will be done you will see:
########################
DATABASE IS READY TO USE
########################
And the other message from creator:
XDB initialized.
When you see it you can to stop your new container from docker desktop. Then run it again:
docker start oracle_19_3
Access to database
For changing the randomly generated password run the command:
docker exec oracle_19_3 ./setPassword.sh yourPassword
Then run the following:
docker exec -it --user=oracle oracle_19_3 bash
So now you are inside your container and you can use Oracle Database. For it just type:
sqlplus sys/yourPassword@//localhost:1521/ORCLCDB as sysdba
And now you see:
SQL>
So you are logged as sys into Oracle Database!
For creating a new user and granting all privileges type:
alter session set "_ORACLE_SCRIPT"=true;
create user yourUserName identified by yourPasswordForUser;
grant all privileges to yourUserName;
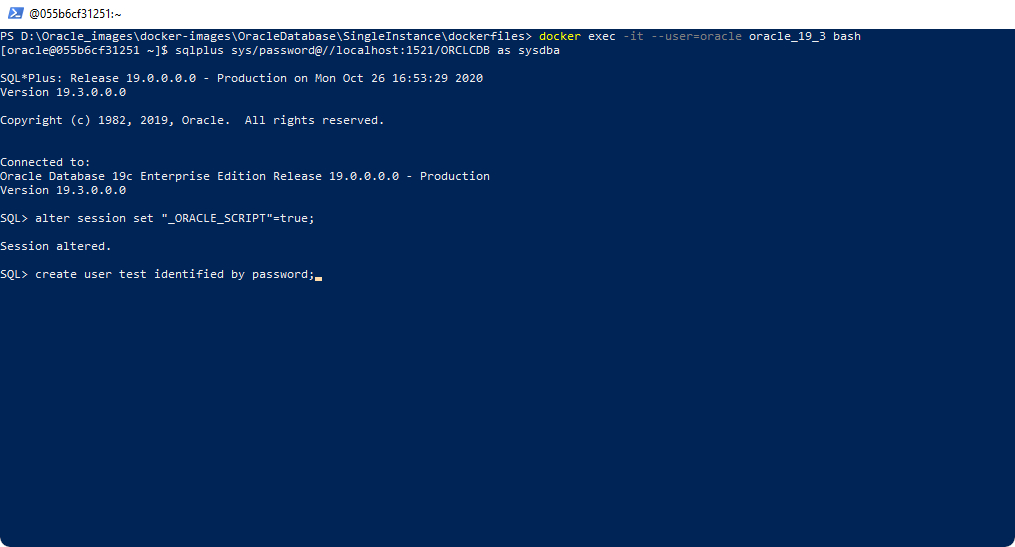
Oracle Database is working now and ready to perform.